


How Do Technicians Decide Whether to Repair or Replace a Bumper?
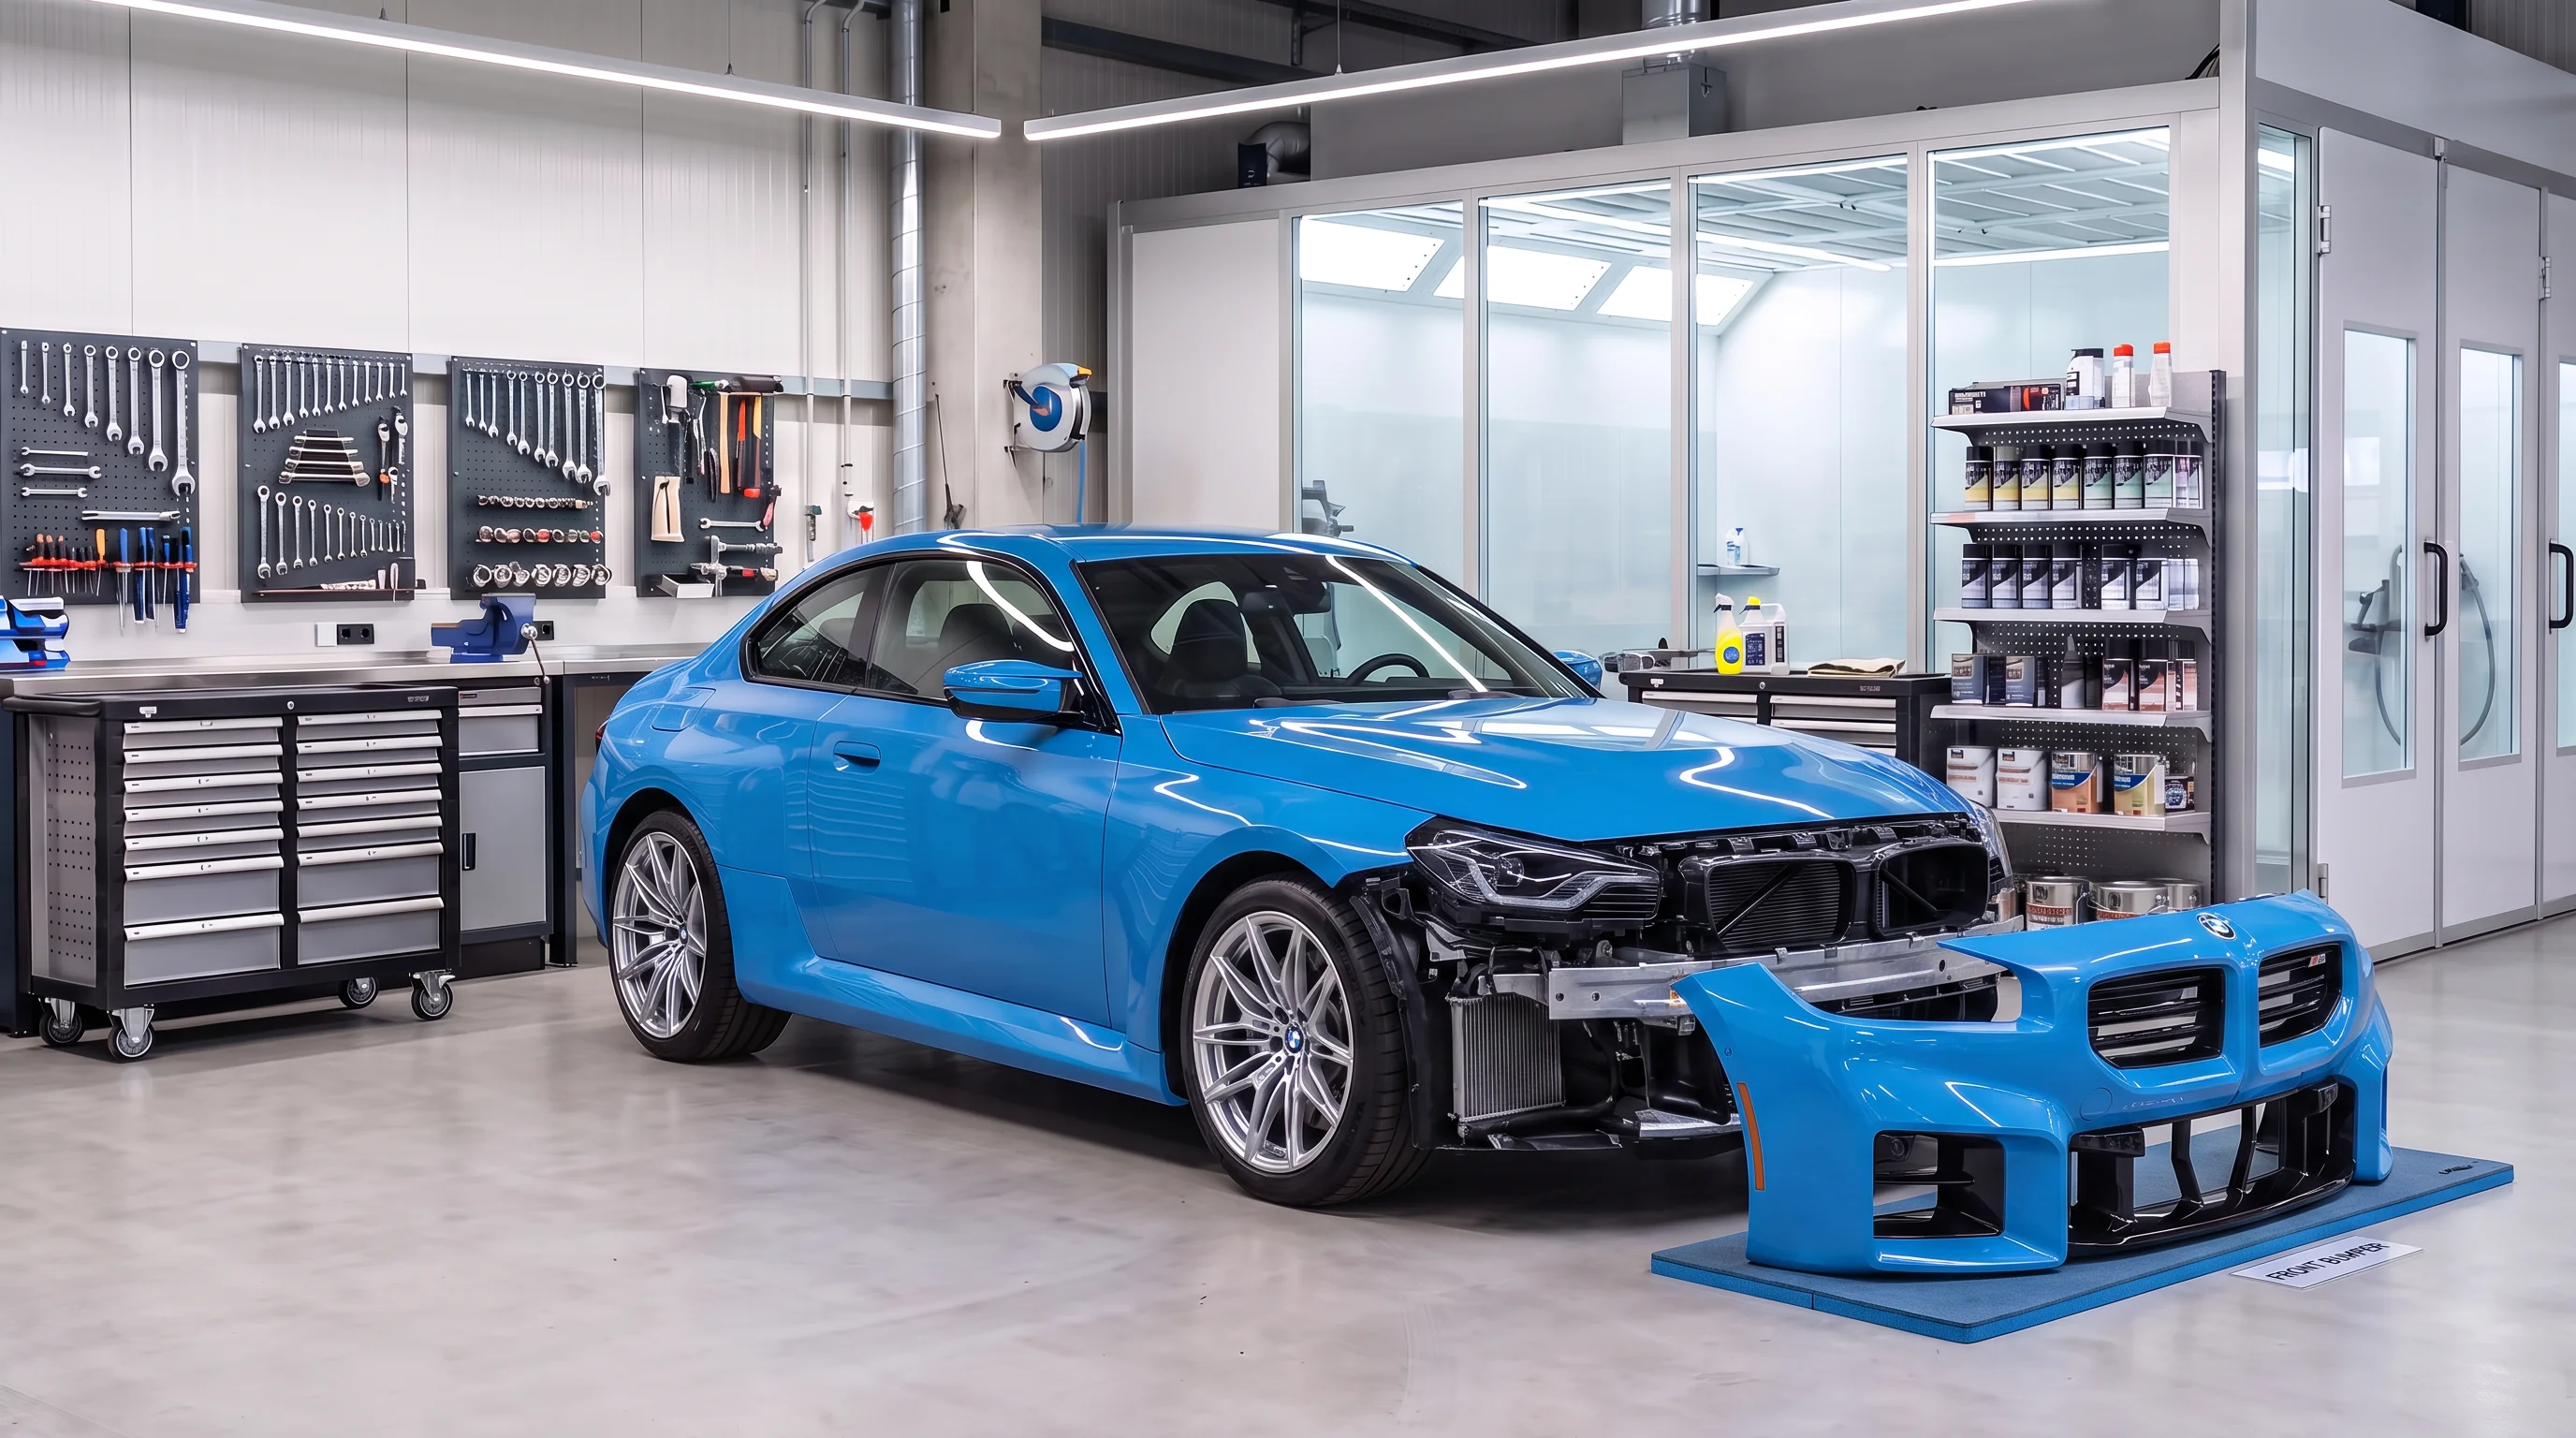
Collision technicians evaluate whether to repair or replace a bumper by assessing structural mounting points, deformation severity, tear locations near clips, and total labor cost against the price of a new component. Minor surface scratches, small dents, and light plastic cracks are generally repairable through cosmetic straightening and refinishing. When backing structures, sensor mounting brackets, or internal reinforcement bars take impact distortion, replacing the assembly becomes necessary to preserve crash performance and sensor alignment.
Generally Repairable
- Light surface scuffs and scratches
- Minor shallow dents in plastic
- Hairline cracks on flat surfaces away from mounting tabs
- Intact sensor mounting brackets
Replacement Required
- Fractured mounting tabs or clip slots
- Creased or torn plastic over sensor zones
- Bent aluminum or steel reinforcement bars
- Crushed energy-absorbing foam blocks
- Distorted radar mounting brackets
Physical appearance is only the starting point. Bumper covers are engineered as part of a multi-piece system: an outer plastic fascia, an energy-absorbing foam or plastic absorber, and a high-strength steel or aluminum reinforcement bar underneath. During a low-speed impact, the outer fascia may flex back into shape, masking structural damage behind it. Technicians perform a teardown inspection to check whether the internal absorber crushed or the reinforcement beam deformed. Industry repair guidance is unambiguous on this point — reinforcement bars are replaced rather than straightened when damaged, and energy absorbers are treated as single-use components once they have taken an impact (I-CAR Repairability Technical Support).
Cost also drives the decision. Auto body work involves labor-intensive steps including plastic welding, flexible filler application, block sanding, priming, and multi-stage refinishing. When the labor hours required to repair extensive plastic distortion exceed the retail cost of a new factory fascia, replacement becomes the logical option.
Modern bumpers house electronic safety hardware, which ties physical damage inspection directly to diagnostic evaluation. Even a subtle parking lot impact can shift internal radar brackets or loosen ultrasonic sensor mounts behind the cover. Our technicians assess both the physical damage and the electronic systems behind it before writing an estimate. Where damage is limited to shallow dents with the factory finish intact, paintless dent repair may resolve it without refinishing at all.
The information in this article is general guidance and does not constitute a specific diagnostic or repair recommendation for any individual vehicle. Repair and maintenance decisions should be made in consultation with a certified technician based on the specific condition of your vehicle.
What Are Car Bumpers Made Of, and Can Plastic Bumpers Be Repaired?
Modern bumper covers are built primarily from flexible polymers — polypropylene and thermoplastic olefin are the most common, with polyurethane used on lower-volume applications. Technicians repair cracks, punctures, and scuffs in plastic bumpers using specialized welding rods, heat reshaping, and flexible structural adhesives, with the correct method determined by which plastic the cover is made from.
| Plastic Type | Resin Code | Repair Technique |
|---|---|---|
| Polypropylene | PP | Plastic welding rod (hot-air or nitrogen) |
| Thermoplastic Olefin | TPO | Adhesion promoter, then flexible filler or adhesive |
| Thermoset Polyurethane | PUR / RIM | Two-part flexible urethane filler, or urethane rod applied with an airless welder |
| Acrylonitrile Butadiene Styrene | ABS | Chemical bonding or ABS rod |
Identifying the resin is the essential first step. Most bumper fascias carry a molded resin identification stamp on the inner surface — PP, TPO, PUR or similar. Where no stamp is present, technicians identify the material by shave or float test before selecting a repair method.
The distinction that matters is thermoplastic versus thermoset. Thermoplastics such as polypropylene and thermoplastic olefin melt when heated and re-solidify when cooled, which allows a technician to fuse matching filler rod directly into a crack with a plastic welder. Thermoset polyurethane behaves differently — the covers stamped PUR or RIM are formed when two liquid chemicals react and crosslink in the mold, so the material cannot be melted and re-fused. Repairing one means beveling the damaged edges and filling with a two-part flexible urethane material, or applying a urethane rod with an airless welder, which bonds like a braze rather than fusing. Thermoplastic polyurethane, stamped TPU or TPUR, is a different material that can be fusion welded, which is why reading the stamp matters before a method is chosen.
Thermoplastic olefin carries its own complication, and it is really two problems rather than one. Residual mold release from the molding process remains on and just below the surface, which is why a dedicated plastic cleaner is required before anything else is applied — a solvent wipe alone will not lift it. Separately, TPO has very low surface energy, so even a properly cleaned TPO surface will not hold filler, primer, or paint without an adhesion promoter to raise it. Cleaning does not substitute for the promoter, and the promoter will not rescue an uncleaned panel. Skipping either step is one of the most common causes of a repair that looks correct on delivery and fails within weeks.
Restoring a damaged cover follows a systematic sequence. The technician cleans the panel to remove road grime, grease, and silicone wax that would prevent bonding. The damage is ground down on both front and rear sides to create a V-shaped groove along the crack. Reinforcement backing mesh is applied to the rear surface for strength, and the front groove is filled with melted resin or flexible structural filler. Once cured, the repaired area is block-sanded smooth, coated with a flexible primer surfacer, feathered into the surrounding paint, and finished with clearcoat containing flex additives to resist future chipping.
The information in this article is general guidance and does not constitute a specific diagnostic or repair recommendation for any individual vehicle. Repair and maintenance decisions should be made in consultation with a certified technician based on the specific condition of your vehicle.
How Do ADAS Sensors Affect Bumper Repair and Sensor Calibration?
Bumper covers host Advanced Driver Assistance Systems components including ultrasonic parking sensors, blind-spot radar units, and front distance radar modules. Minor impacts or improper repair technique — excessive paint thickness or metallic fillers over a radar housing, for instance — can distort radar signals and trigger system faults. Whether recalibration is required after a given repair is specified by the vehicle manufacturer and depends on the make, model, year, and exactly which repair operation disturbed the sensor.
Static Calibration
- Environment: Controlled indoor bay, level floor, specific lighting conditions
- Requirements: OEM-specified target positions
- Equipment: Physical target boards, computerized software
Dynamic Calibration
- Environment: Marked public roads, dry weather, clear lane lines
- Requirements: Specific sustained speeds
- Equipment: OBD-II scan tool, optical alignment
Driver-assist hardware depends on unobstructed wave transmission through the bumper fascia. Radar modules sit directly behind the plastic cover, broadcasting high-frequency signals through the bumper material to track surrounding traffic. Heavy body filler or paint coats exceeding manufacturer thickness specifications over a radar transmission zone can attenuate or refract that signal. The consequences are not cosmetic: false collision warnings, delayed emergency braking response, or a system that shuts itself off entirely.
This is also why several manufacturers restrict plastic repair and filler application in the area directly in front of blind-spot and corner radar sensors. For damage inside a radar emission zone, some manufacturers direct that the cover be replaced rather than repaired at all — a constraint that can turn what looks like a minor crack into a full replacement (I-CAR Repairability Technical Support).
Recalibration restores precision to those systems after bumper removal or repair. Static calibration takes place inside a shop bay where technicians position high-precision target boards at exact distances, heights, and angles from the vehicle while connecting diagnostic software to adjust sensor angles. Dynamic calibration requires driving the vehicle on designated roads at specified speeds under clear conditions so camera and radar systems can align against real-world reference points. Some vehicles require one, some require the other, and many require both — which is why a facility equipped for only one method may not be able to complete every repair.
We perform both static and dynamic ADAS calibration in our dedicated indoor calibration bay, rather than routing the work to an outside vendor.
What Happens After a Collision
1. Impact assessment
The vehicle arrives and visible damage is documented.
2. Pre-repair diagnostic scan
Existing fault codes are recorded as a baseline.
3. Bumper repair or replacement
The cover, absorber, and reinforcement are addressed.
4. Post-repair diagnostic scan
Reconnection and code status are verified.
5. Static or dynamic calibration
Sensors are realigned to manufacturer specification.
6. Final safety system verification
Systems are confirmed operational before release.
The precision involved is easy to underestimate. AAA notes that a sensor out of alignment by a fraction of an inch, or by a single degree, will be aimed at an area significantly off axis 50 or more feet down the road — which is the range at which these systems are meant to be doing their work (AAA, ADAS Sensor Calibration Increases Repair Costs).
The information in this article is general guidance and does not constitute a specific diagnostic or repair recommendation for any individual vehicle. Repair and maintenance decisions should be made in consultation with a certified technician based on the specific condition of your vehicle.
What Should You Look For in a Riverside Bumper Repair Shop?
A qualified bumper repair facility should have computerized diagnostic pre- and post-scanning, manufacturer-certified technicians, and a documented process for ADAS recalibration. Shops without in-house calibration capability generally route that work to an outside vendor, which extends turnaround time.
| Technical Capability | What to Ask For |
|---|---|
| Diagnostic pre- and post-scanning | Digital printouts of OBD-II fault codes |
| In-house ADAS calibration | A dedicated indoor calibration bay — not a subcontracted vendor |
| Technician certification | I-CAR Gold Class or OEM training credentials |
| Itemized repair estimates | Separate lines for labor, parts, and materials |
| Original equipment parts | Written confirmation of OEM component sourcing |
When evaluating a collision facility, a few specific questions surface most of what you need to know:
- Does the shop perform digital diagnostic pre-scan and post-scan procedures to identify hidden electrical fault codes before and after bodywork?
- Are the technicians trained in plastic identification, plastic welding, and vehicle-specific sectioning guidelines?
- Does the shop provide an itemized estimate separating body labor, refinish labor, paint materials, replacement parts, and calibration fees?
- Does the shop calibrate safety sensors in-house using manufacturer-approved targets and software, or transport the vehicle to an outside vendor?
An itemized estimate provides transparency about where the money goes. Body shop estimates split costs into clear categories: structural or body labor hours, paint refinishing labor hours, paint and shop supply materials, replacement part costs, and electronic calibration line items. Reviewing that breakdown lets you confirm that diagnostic scanning and safety recalibration are explicitly included rather than assumed.
I-CAR Gold Class is the credential worth asking about specifically. I-CAR requires role representatives across four roles — estimator, structural technician, non-structural technician, and refinish technician — to reach ProLevel 2 or higher, with the number of qualified representatives scaled to the size of the shop and the designation renewed annually (I-CAR Gold Class standards for collision repair). We hold I-CAR Gold Class recognition and perform ADAS calibration on site, which means your bumper repair and the sensor work that follows happen under one roof rather than across two appointments at two facilities. Our approach to BMW collision repair follows the same principle throughout the repair process.
How Do OEM and Aftermarket Bumper Parts Compare?
Original Equipment Manufacturer bumper parts are built to factory dimensions, material densities, and radar transmission specifications, which supports consistent clip fitment and predictable sensor behavior. Aftermarket covers cost less initially but can show inconsistent panel gaps, weaker sensor mounting tabs, and varied plastic compositions.
OEM Bumper Parts
- Dimension and fitment: Built to factory specification
- Material density: Engineered polymer consistency
- Radar transmission: Validated for the vehicle’s sensors
- Sensor mount clips: Molded factory brackets
- Warranty: Covered under the manufacturer’s parts warranty terms
Aftermarket Bumpers
- Dimension and fitment: Dimensional variance possible
- Material density: Composition varies by supplier
- Radar transmission: May not be validated
- Sensor mount clips: Generic or adapted mounts
- Warranty: Covered by the individual part maker
The choice influences structural fit and long-term durability. Factory covers are molded using brand-specific resin formulas delivering the flexibility and rigidity designed into the vehicle’s crash management system. Aftermarket alternatives may use generic plastic blends that warp under high ambient temperatures or lose alignment over time. Mounting tabs on aftermarket fascia panels sometimes require grinding, trimming, or re-drilling during installation, adding labor hours that offset the initial part savings. We install original BMW parts on BMW collision repairs for exactly these reasons.
Radar compatibility is where the difference is most consequential. Published manufacturer position statements caution that aftermarket or recycled covers can differ from the factory part in material thickness, composition, or prior repair history, and that any one of those differences can interfere with radar signal transmission. Paint film build beyond factory specification over a transmission zone carries the same risk. Manufacturer guidance in this area has also tightened: at least one manufacturer has moved from discouraging aftermarket, reconditioned, and salvage fascias on ADAS-equipped vehicles to prohibiting them outright, which makes the parts decision a repair-procedure question rather than a matter of preference. Current OEM position statements on this subject are collected in I-CAR’s OEM information library.
A note on warranty rights, because this area is widely misunderstood. Under the Magnuson-Moss Warranty Act (15 U.S.C. §§ 2301–2312), a manufacturer cannot void your vehicle’s warranty or deny a claim simply because an aftermarket part is present or because work was performed by an independent shop. To deny coverage, the manufacturer must demonstrate that the specific part caused the failure. The practical case for OEM parts on an ADAS-equipped bumper rests on validated fit and sensor performance — not on warranty risk. Further detail is available in the FTC’s Businessperson’s Guide to Federal Warranty Law.
This information is provided for general educational purposes only and does not constitute legal advice. Warranty coverage depends on the specific terms of your vehicle’s warranty agreement. Consult your owner’s manual or a qualified legal professional for guidance on your individual situation.
Is DIY Bumper Repair a Good Idea?
DIY bumper repair using retail filler kits or aerosol spray paint is not advisable on modern vehicles, for three reasons: structural safety risk, material incompatibility, and uncalibrated safety sensors. Professional facilities use plastic type identification, commercial welding equipment, computer-matched paint booths, and sensor alignment tools that a home garage cannot replicate.
DIY Repair Risks
- Rigid fillers crack under flex
- Aerosol clearcoat peels and fades
- Uncalibrated radar modules
- Unseen structural beam damage
- Signal blockage from paint buildup
What a Professional Facility Brings
- Flexible polymer bonding and plastic welding
- Multi-stage, controlled refinishing
- Documented pre- and post-scan verification
- Teardown inspection and absorber assessment
- Paint thickness gauge measurement
Material limitations defeat most home repairs before they start. Retail body fillers sold at auto supply stores are rigid polyester compounds formulated for sheet metal. Applied to a flexible plastic bumper cover, they cannot expand and contract with the panel through temperature cycles, and they crack or flake — often within weeks, sometimes on the first hot afternoon. Matching factory metallic paint with aerosol cans is a separate problem, producing patchy color blending and uneven clearcoat gloss.
The safety argument is stronger than the cosmetic one. A minor scuff from backing into a pole can conceal a fractured impact absorber or a damaged ultrasonic sensor bracket. Without diagnostic equipment to read fault codes or recalibrate radar modules, a home repair leaves driver-assist systems unverified — functioning in appearance, unconfirmed in fact.
The information in this article is general guidance and does not constitute a specific diagnostic or repair recommendation for any individual vehicle. Repair and maintenance decisions should be made in consultation with a certified technician based on the specific condition of your vehicle.
Common Questions About Bumper Repair and ADAS Calibration
Does insurance cover ADAS sensor recalibration after a bumper repair?
Coverage depends on your specific policy rather than on any statewide rule. Many insurers treat calibration as part of a covered collision repair when sensors are disturbed, but coverage varies by carrier and policy, and calibration line items are not always approved automatically. Insurers generally expect supporting documentation — pre- and post-repair diagnostic logs, calibration verification, and itemized calibration line items. Review your policy or contact your carrier to confirm what is covered before authorizing repairs.
We participate in the Mercury Direct Repair Program and work with a range of carriers; you can review the insurance providers we work with before you file.
How long does a standard bumper repair and repaint take?
Cosmetic repairs involving crack repair, sanding, priming, and refinishing typically run a small number of business days. Full replacements require additional time for part delivery, transfer of internal wiring harnesses and sensor brackets, and any required static or dynamic recalibration. Complex calibrations or special-order OEM parts extend the timeline further. Ask for a specific estimate for your vehicle.
Can minor paint chips or clearcoat scratches be touched up without removing the fascia?
Shallow clearcoat scratches and isolated chips that do not reach the raw plastic substrate can often be spot-repaired without disassembling the cover, provided the damage sits away from a radar zone. Where damage is over or near a blind-spot radar housing, paint film thickness has to be measured to avoid signal degradation, and some manufacturers restrict repair in that area entirely. Deep gouges or cracks require removal for plastic welding and full-panel clearcoating.
What are the warning signs of hidden damage after a low-speed parking incident?
Parking assist warning lights, intermittent blind-spot monitoring alerts, misaligned camera gridlines, or unusual gaps between the bumper cover and fender all point to internal damage. Impact energy can fracture mounting clips or bend support brackets without leaving significant surface marks. A teardown inspection is the only way to confirm that absorbers and sensors are intact.
Why is diagnostic scanning necessary both before and after a repair?
Pre-scans detect existing fault codes prior to disassembly, establishing a documented baseline. Post-scans verify that sensor wiring harnesses are reconnected, calibration angles are correct, and no active error codes remain before the vehicle is returned. Skipping either step risks returning a vehicle with driver-assist functions silently disabled.
The information in this article is general guidance and does not constitute a specific diagnostic or repair recommendation for any individual vehicle. Repair and maintenance decisions should be made in consultation with a certified technician based on the specific condition of your vehicle.
Bumper Repair and ADAS Calibration in Riverside
Restoring a damaged bumper on a modern vehicle combines precise plastic repair technique with electronic system verification. From assessing hidden structural absorbers to confirming that radar zones remain within manufacturer specification, following manufacturer-approved procedures is what protects your vehicle’s safety performance, appearance, and resale value.
Certified Collision Center of Riverside is located at 3040 Adams St, Riverside, CA 92504, serving drivers across Riverside, Corona, Eastvale, Norco, and Jurupa Valley. Our factory-trained technicians handle BMW collision repair using original BMW parts, and both static and dynamic ADAS calibration are completed on site.
The information in this article is general guidance and does not constitute a specific diagnostic or repair recommendation for any individual vehicle. Repair and maintenance decisions should be made in consultation with a certified technician based on the specific condition of your vehicle.
This information is provided for general educational purposes only and does not constitute legal advice. Warranty coverage depends on the specific terms of your vehicle’s warranty agreement. Consult your owner’s manual or a qualified legal professional for guidance on your individual situation.